
I picked this small wooden cradle for our fashion doll's house not only because I thought it charming but also because it rocks well without tipping. It is an excellent size, 8"x4"x4", for a Barbie doll's baby. All this piece needed was a bit of updating!
 |
| Above, I painted this little cradle using two colors, green and teal, and left a few of it's surfaces stained. This style of furniture is comely referred to as "two-toned." Although, technically my cradle has three colors on it. The word combination "two-toned" refers to the leaving of some surfaces stained and others painted. |
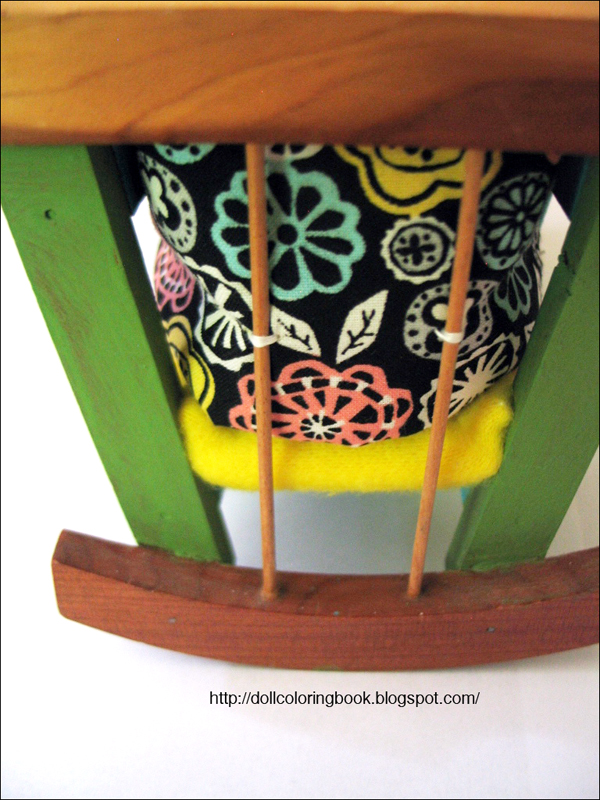 |
| Detail of bumper pad tacked in place. See the coordinating changing table I crafted to match this doll cradle for Barbie here. |
- acrylic paints
- cardboard
- felt for lining, any color
- scraps of fabric for the bumper pad
- fleece for mattress cover, coordinating color
- needle and thread
- clear acrylic sealer
- sand paper
- small paint brush
- Lightly sand the cradle's surfaces to remove dirt, grime and any other sticky or oily residue from the crib. This light sanding will also scratch the surface of the stained crib just enough to help the acrylic paints adhere to it.
- Using a small paint brush, carefully coat the different surfaces of the crib with the colors you have selected. It should take three to four coats of paint to cover each surface sufficiently. Remember to apply the paint evenly to avoid messy lumps and drips.
- I painted this little cradle using two colors, green and teal, and left a few of it's surfaces stained. This style of furniture is comely referred to as "two-toned." Although, technically my cradle has three colors on it. The word combination "two-toned" refers to the leaving of some surfaces stained and others painted.
- Now you may wish to use a clear acrylic sealer to protect your paint application. Let it dry before continuing.
- Measure and fit a piece of cardboard to fit inside the cradle, if your cradle has a bottom made from small wooden slats like mine.
- Cut a felt cover for this cardboard mattress the exact same dimensions. Glue it to the top of the cardboard.
- Now cut a piece of fleece, slightly larger to cover both the top and bottom of the cardboard. This will provide the doll with a bit of cushion.
- Tuck and whip stitch the edges of the fleece to cover the cardboard mattress. Fit this into the cradle.
- To make the cradle's bumper pad, measure the length of four interior sides. Add up these measurements and cut a piece of felt for the stuffing of the bumper pad.
- It's up to you to decide how wide the bumper pad will be.
- Place the felt piece on top of the decorative fabric you are going to use for the outside of the bumper pad. Cut around this felt piece leaving 1/4 inches for a seam. Do this twice.
- Remove the felt for measuring, Turn the two pieces of fabric with right sides together. Sew a straight seam around the two bumper pads, leaving a opening of approximately three inches.
- Insert the felt lining and whip stitch the opening shut.
- Stitch the ends together if you like.
- Now fit the bumper into the little cradle and use a needle and thread to tack it in place.
No comments:
Post a Comment
Thanks for your thoughts. All comments are moderated. Spam is not published. Have a good day!